

Swapping a temperamental pressure switch for a sleek Automatic Pump Control (APC) box can look intimidating—until you discover that the entire job needs only three tools, one coffee break, and zero plumbing permits. Below is the field-tested roadmap that turns Saturday-morning doubt into lunchtime bragging rights.
What you actually receive
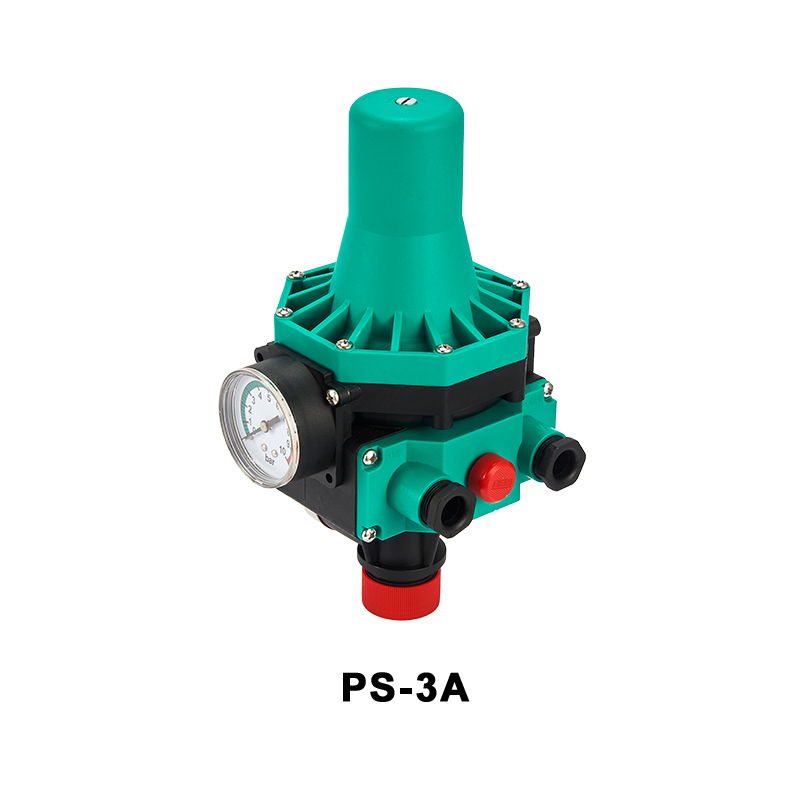
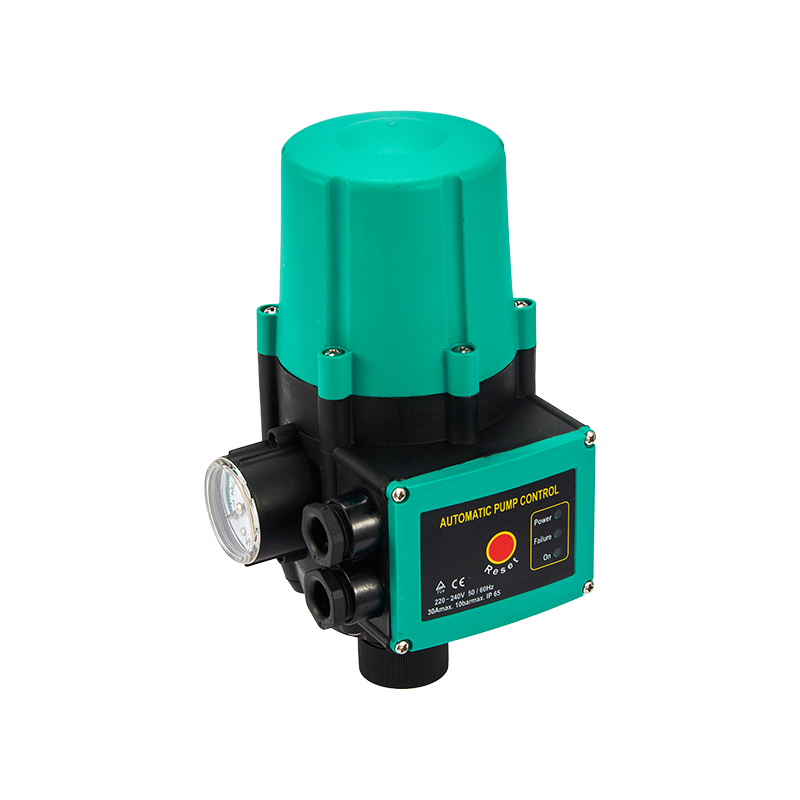
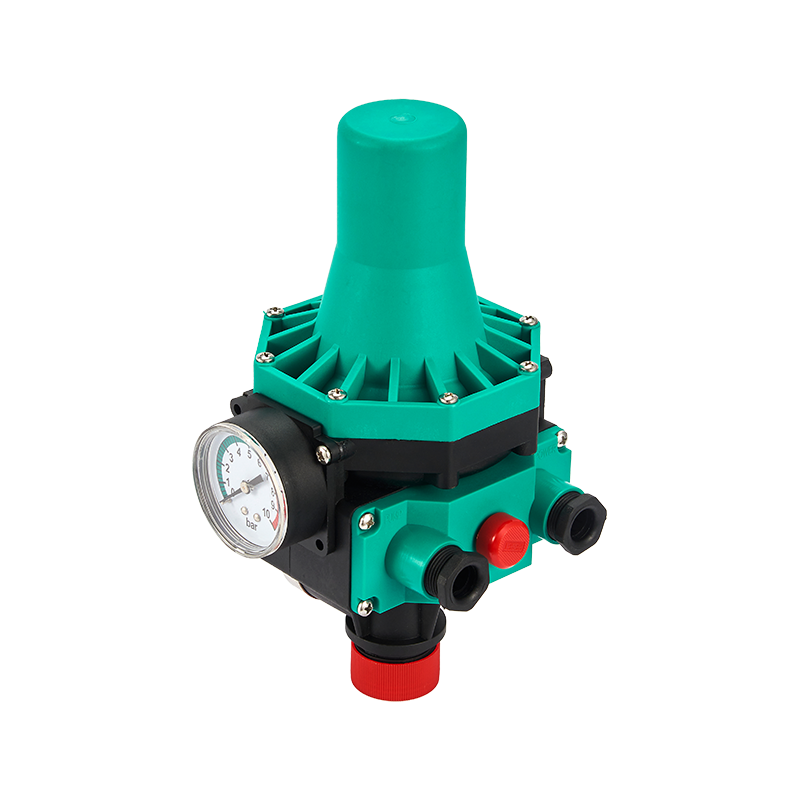
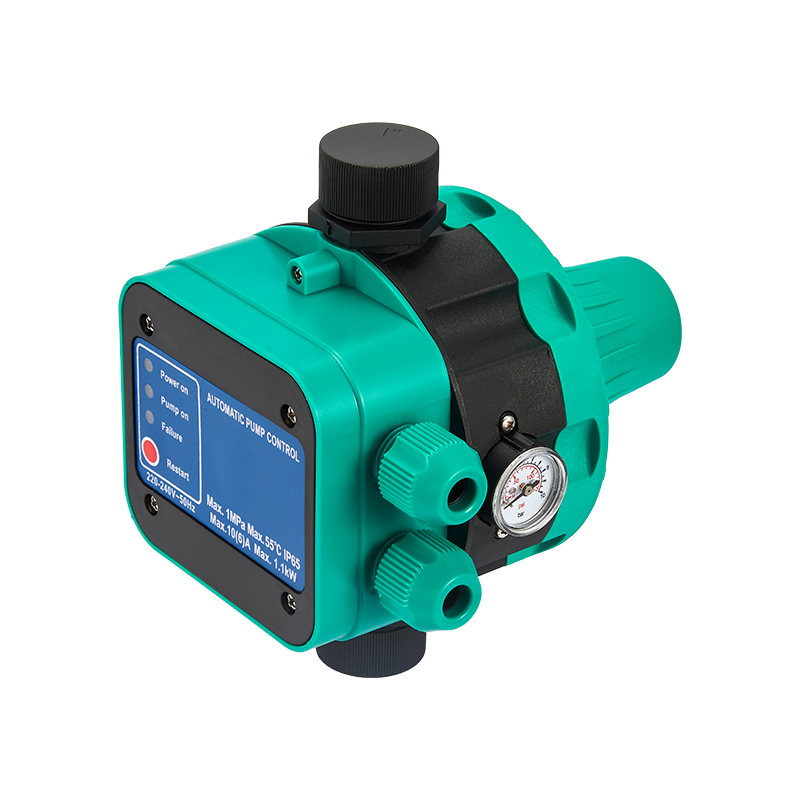
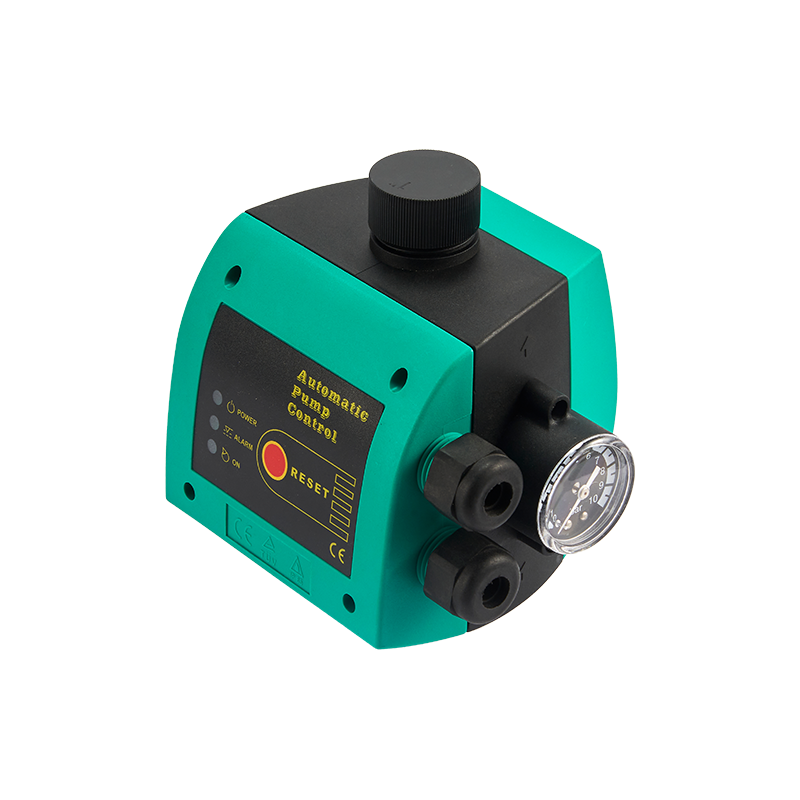
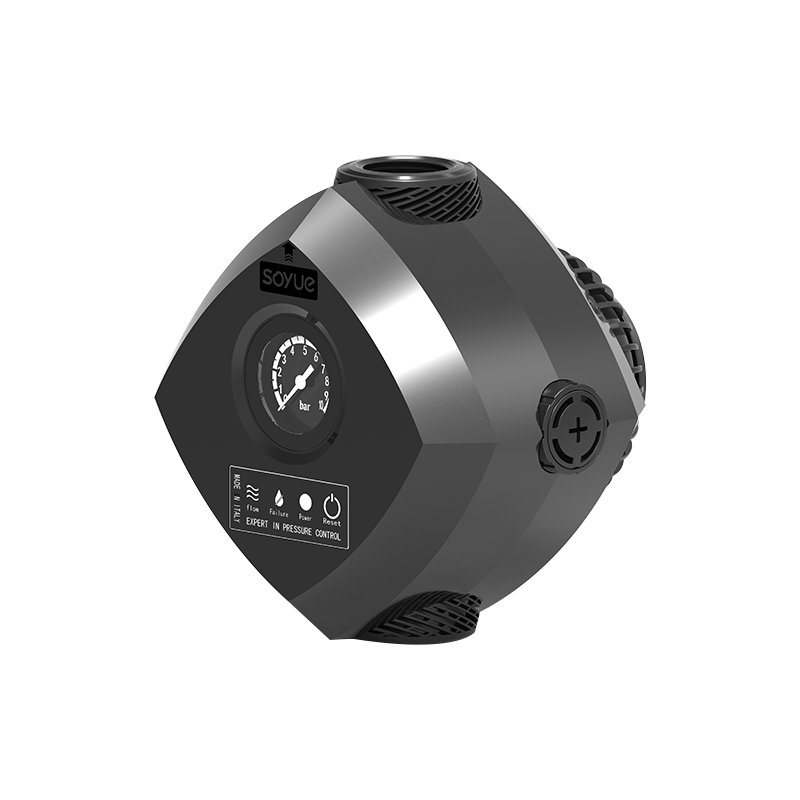
Most kits ship with only four items: the APC module, a brass pressure sensor, a rubber washer, and a laminated wiring diagram. No extra valves, gauges, or mysterious “spare parts” bags—manufacturers have distilled 30 years of pump-station know-how into a plug-and-play sandwich.
Tools and time budget
Required: Phillips #2 screwdriver, 8-inch adjustable wrench, and three wraps of PTFE tape. Optional: smartphone for a “before” photo and a multimeter for the belt-and-suspenders crowd. Total hands-on time averages 45 minutes: 10 minutes to drain the line, 15 minutes to unscrew the old switch, 10 minutes to thread in the sensor and land three wires, and 10 minutes to prime and test.
Step-by-step without the jargon
a. Safety: flip the double-pole breaker labeled “Pump,” open the low faucet until flow stops, and snap that photo.
b. Out with the old: one half-turn with the wrench frees the legacy pressure switch; keep the ½-inch nipple if it’s clean, otherwise swap it for a $2 stainless replacement.
c. In with the APC: spin the brass sensor hand-tight plus a quarter-turn, route its cable through the water-tight gland, and tighten the gland until snug—finger plus pliers, no gorilla torque.
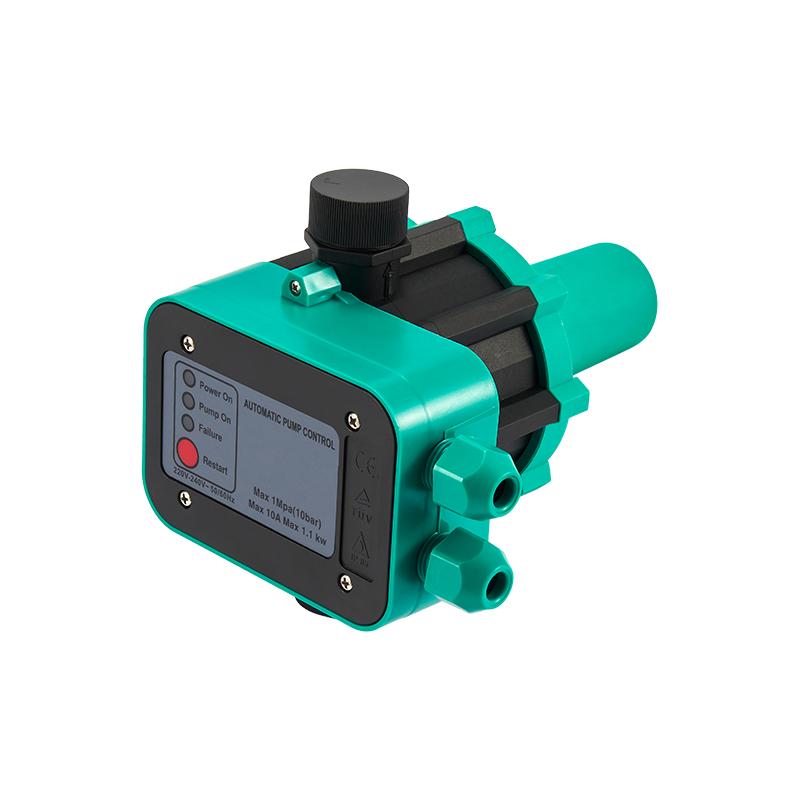
d. Wiring is color-by-numbers: brown to L, blue to N, green/yellow to the chassis-earth symbol. Tighten each terminal to a firm 0.8 N·m—about the same pressure you use on a pickle-jar lid.
e. power-up: restore the breaker, watch the display flash P0, tap the key until it reads 3.0 bar (44 psi), open a tap, and enjoy instant, steady flow. Close the tap; the pump stops within one second and the screen shows OFF.
Common “uh-oh” moments and 30-second fixes
Pump runs but no water → forgot to prime; fill the pump casing through the priming port.
Display blinks E1 → sensor wire loose; finger-tighten the gland nut.
Pump cycles every 30 seconds → hidden toilet leak; drop food coloring in the tank and replace the flapper.
When to phone a pro
Skip DIY only if you have a submersible pump larger than 1.5 hp (needs heavier contactor), no nearby earth rod (local code may demand GFCI protection), or if opening the well cap is required. Everything else is fair game.
Bottom line: Automatic Pump Control installation really is simple. In less time than it takes to order pizza, you can trade clunky tanks and fluttering gauges for whisper-quiet, set-and-forget performance—and still have the afternoon free.


Within the global industrial supply chain, specialized facilities focus on producing the electronic brains that manage the world's pumps: the automatic pump controller factory. These manufacturing plants are dedicated to the design, assembly, testing, and quality assurance of the devices that provid...
Across the diverse applications of fluid movement—from ensuring consistent water supply in high-rise buildings to maintaining precise pressure in industrial processes and agricultural irrigation—the concept of pump automatic pressure control has become a cornerstone of modern system design. This tec...
In systems where water or other fluids are moved under pressure, from residential plumbing and agricultural irrigation to industrial processing and fire suppression, maintaining a precise and stable pressure is often critical. This task falls to a dedicated device: the pump pressure controller. This...

Soyue is an reliable water pump pressure controller manufacturers, with long-term combination of technology and innovation.custom water pump controller.
 No. 1469, Jingsi Road, Jiaojiang Economic Development Zone, Xiachen Street, Jiaojiang District, Taizhou City, Zhejiang.
  +86 - 18605868011
 +86 - 576 - 8906 9898
 +86 - 576 - 8866 5959
 [email protected]
  中文简体
中文简体 Español
 русский
 عربى
عربى Türk
Türk